
Installing A Localhost Server
In this tutorial I will be explaining how to set up a localhost server on your computer with the help of Apache, PHP and MySQL. When building your website it’s always a good idea to work in a testing environment. It’s not a good idea to have all your dirty laundry hanging out there of everybody to see before it’s ready. So before you go and upload the site to your live server you should follow along with this tutorial:
1. The first thing you need to do is install Apache, PHP and MySQL onto your computer. There are a few options here, you could download them all separately and then configure them all to run together… Or you could use packages such as MAMP or XAMPP which are both bundles of everything you will need to jump start your localhost server to life. Both of these packages are released under the GNU General Public License and can be distributed freely within the boundaries of this license.


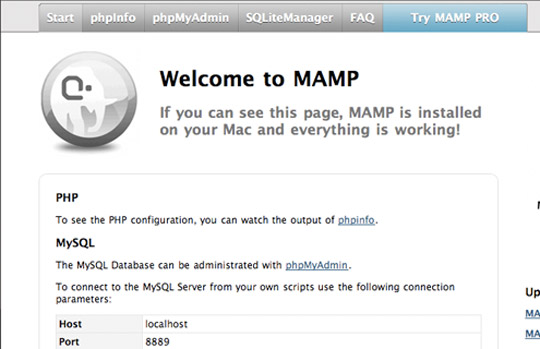
2. To install just download and install as you would any application. (not so with the Windows versions.) If you chose to install MAMP after you launch the program it will redirect your browser to your new localhost start page:

3. You now have a local host running, if you notice there are a few options in the menu. A very important one is phpMyAdmin. This WYSIWYG program is your localhost MySQL database where you will create databases to store the content and information from your website.
phpMyAdmin

Congratulations! The next step will be to create a database and find the right Content Management System (CMS) to install for your website.


About Author
I'm the curator here at designshifts.com as well as being a web developer by day. I have a passion for design and love to share inspiration and tips and tricks with the community.