MODx Revolution Part One – Installing the Revolution CMS Framework
MODx Content Management System, Framework has been a great option for both web designers and developer and has recently come out with there latest installment the Revolution CMS Framework. In this tutorial I will show you where to find, download and install Revolution.
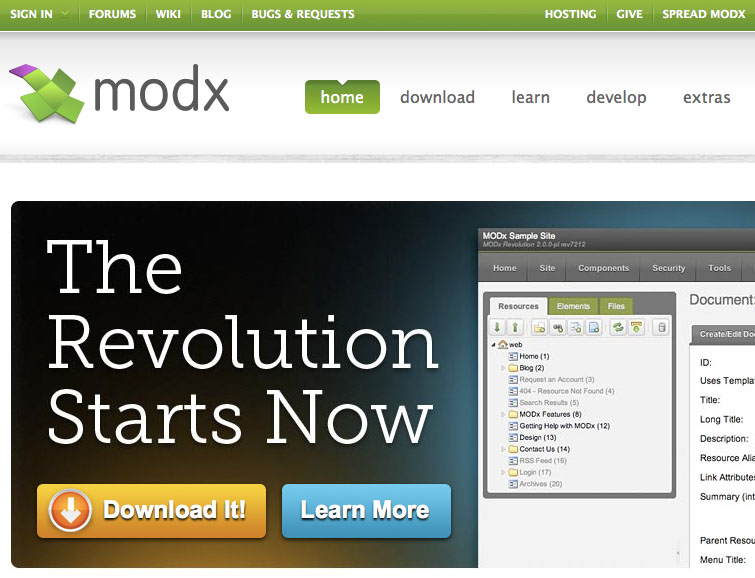
1. First find your way over to the MODx website and click on the Download btn. Move down the page until you come to the Public Launch (PL) section where you will have these two options:
Traditional vs. Advanced
- Traditional (2.0.4-pl) – These packages are pre-built snapshots from Git. You can simply extract the files to your server and follow the Basic Installation guide to install MODx. Most users should choose this version.
- Advanced (2.0.4-pl-advanced) – These packages are slightly less than half the size of the “Regular” downloads, since the “core” contents are compressed. MODx Setup will try to unpack or “build” this package during install. It’s recommended you only use this if you plan to move the core, manager or connectors directories, and you have SSH access and are familiar with making folders writable.
If you are new to the MODx framework and developing websites in general then let’s go with the Traditional installment.
Download MODx Revolution 2.0.4-pl
Download .zip modx-2.0.4-pl.zip – 11 MB
via Download | MODx CMS / CMF.
2. The next screen you will see is a screen to register which is great because you will become part of the MODx community. Once you fill out the form the download will start as well as a screen asking for donations. I would suggest giving a donation if you find that you love MODx as much as I think you might and you keep using the system.
3. Save your installation folder modx-2.xx-pl to your computer. Next copy and upload this folder to your hosting server or your localhost server (see: Installing a localhost) and change the name to just modx for testing, the title of your site etc.
4. launch your web browser and point it to your installation ie http://www.example.com/modx/setup/ or http://localhost:8888/modx/setup/.
5. choose your language and click select. Now the program will guide you through the rest of the installation.
6. you will now need to create a database for your website, it will attempt to create one for you through your server if you have your user name and password. So, test database server connection and view collations, and Create or test selection of your database. If all goes well Create yourself a Admin user name and password and click Next.
7. You should now see this page showing your success and all green checkmarks. Make sure that the config.inc.php exists and is writable.
8. Before you login you should Delete the setup files. And there you have it you have installed MODx Revolution.
Your next step is the fun part! stay tuned for more tutorials from the design side of MODx going straight from XHTML/CSS/JS templates right into the CMS . Developers can use your custom code and build sites faster and maintain them with ease. Subscribe to get updates so you don’t miss the next tutorial.


